Week 5 3D printing
Objectives
Group assignment
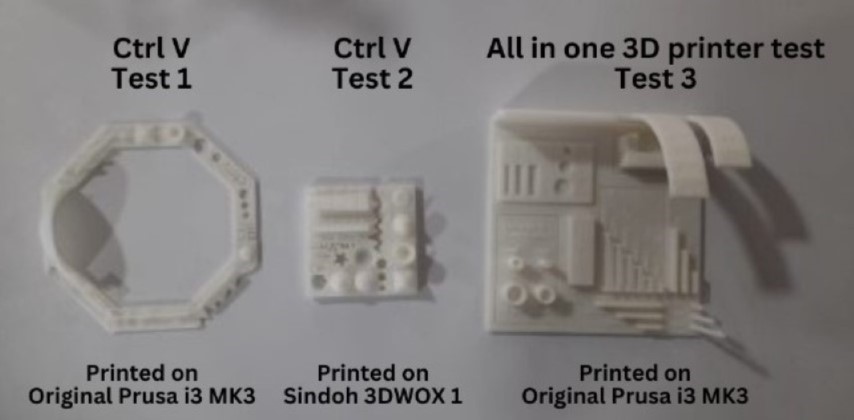
Test the design rules for your 3D printer
Individual assignment
Design and 3D print an object that could not be made subtractively
3D scan an object
After a week of doing not-so-creative things we stepped into one of the most interesting weeks that is the printing. I mean you can print anything!! ( atleast that’s what they said at first)
3D printing
Instructions
Our Local instructor Mufeed explained us the basics of 3D printing and it turned out to be a very interesting session with us at some point questioning why we even need 3D printing. Despite it’s many many advantages I was pretty skeptical about the whole process but I must say I still found the idea of 3D printing something very exciting.
Insights
What is 3D printing
3D printing or additive manufacturing is a process of making three dimensional objects from a digital file.
Types of 3D printing
- Stereolithography (SLA)
- Selective Laser Sintering (SLS)
- Fused Deposition Modeling (FDM)
- Digital Light Process (DLP)
- Multi Jet Fusion (MJF)
- PolyJet.
- Direct Metal Laser Sintering (DMLS)
- Electron Beam Melting (EBM)
Prusa you beauty (Prusa i3 MK3)
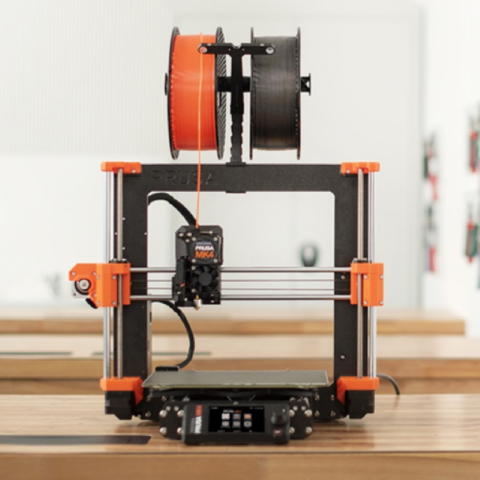
Our Lab has 4 different types of printers and for some reason everyone had a thing for Prusa. Eventually I learnt why. She’s simply gorgeous. ( Yes I’m convinced it’s a she)
She’s fast, simple, easy to maintain, she gets the job done! ( Now you know why she’s a she)
Remember to treat her right though; Give her G code file, Make sure the noxxle is clean, Don’t press her buttons too much, and just don’t mess with her bed.
Specifications
- Build Volume: 250x210x210mm
- Nozzle: 0.4mm (default), 0.6mm
- Layer Resolution High : 50 microns
Materials that can be used for FDM 3D Printing:
Acrylonitrile Butadienen Styrene (ABS)
Polylactic Acid (PLA)
Polyethylene Terephthalate Glycol
(PETG)NylonPolycarbonate (PC)
Thermoplastic Polyurethane (TPU)
Woodfill (Wood fibers + PLA)
Parameter values set for PLA+ in Prusa:
- Nozzle Temperature: 215°C
- Bed Temperature: 60°C
All of our trial prints we did in Prusa
Now the other printers
Syndoh 3D wox 1
Bambu
Formlab
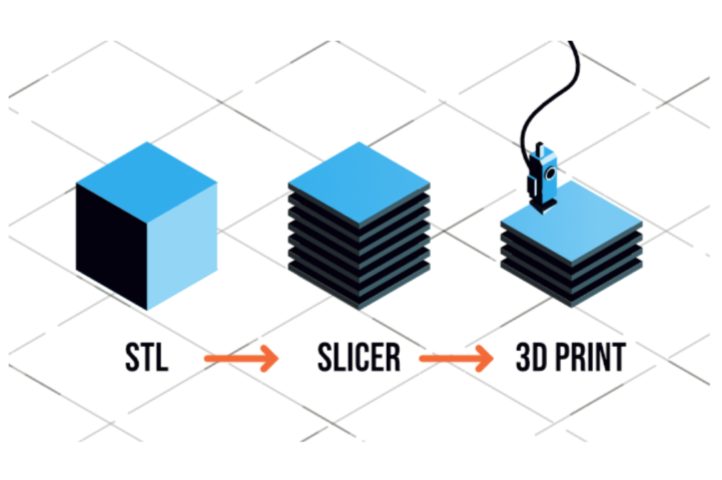
Slicing is the game changer
The act of converting a 3D model into a set of instructions for the 3D printers is called
Slicing.
Quite literally, it ‘slices’ the 3D model into thin layers, and further determine how each layer should be printed (the tool path) to get minimum time, best strength, etc.
Features of a Slicing Software
Orientation: After loading the stl file on the slicing software, we need to align the 3D model to the given space. As mentioned above, one has to follow the orientation rule.
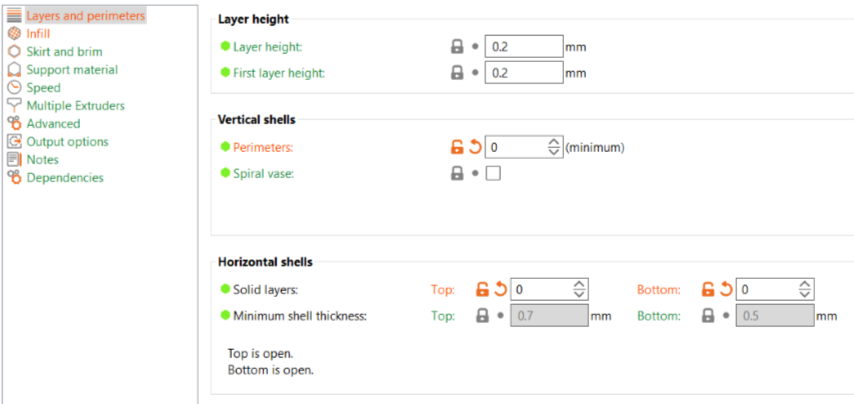
Layer Height ( Object resolution): The resolution of a 3D object is highly dependent on its layer height. Smaller layer heights give high resolution and smooth surface. However, the overall printing time could be more.
Object Shells (Shell Thickness):The outer layer that builds the wall of the object is called the object shell or perimeter . The strength of the object is dependent on the number of shells present. Higher shell count → higher strength!
Infill: Density, Types and shapes
Support structures: In the processes of 3D printing, one layer is printed over another existing layer. This means every layer needs an underlying layer to support it. If a model has an overhanging part, it still needs a supporting layer. This supporting layer is called the
support structure
.
Raft, Skirts, Brims: It is common for 3D printed objects to get stuck on their print beds (physically, not in software). To avoid this, the slicer offers some good solutions. It uses some structures that make the detachment easier.
Prusa Slicer
IT is the slicing software we were recommended to use. It is an open-source tool that helps to export the print files for 3D printer.
You can download the file here
Group Assignment
You can find the link here
What I did this week
Since the assignment is to design something and 3D print, we were suggested to design something for namesake to simply understand the working of the printer on a more deeper level at first.
Attempt 1
Printing type: FDM
Printer used: Prusa i3 MK3
Material used: PLA
I created a simple model of a vase like structure in Fusion 360
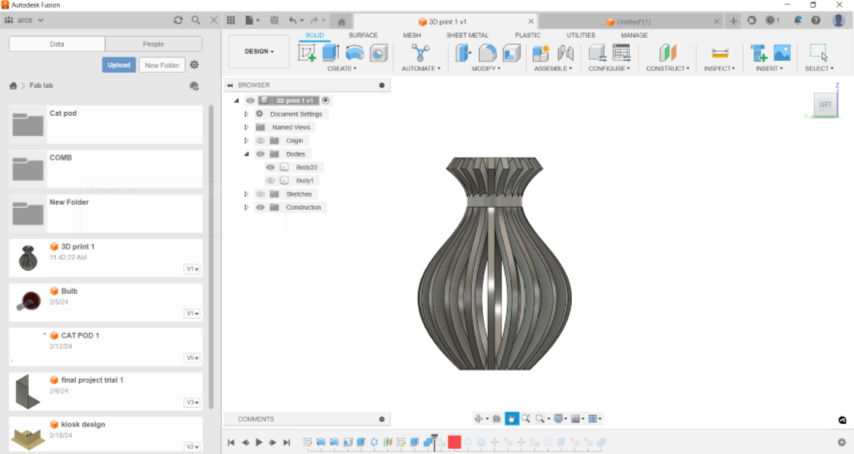
Exported the STL file to PRUSA Slicer. Added brim and skirt.
.png)

Attempt 2
Printing type: FDM
Printer used: Prusa i3 MK3
Material used: PLA
For the second attempt to understand how we can play around with infills and create interesting structure I made a simple cylinder in fusion, expoted it to Slicer and gave the shell thickness a zero which removed the outer shell and chose the gyroid infill
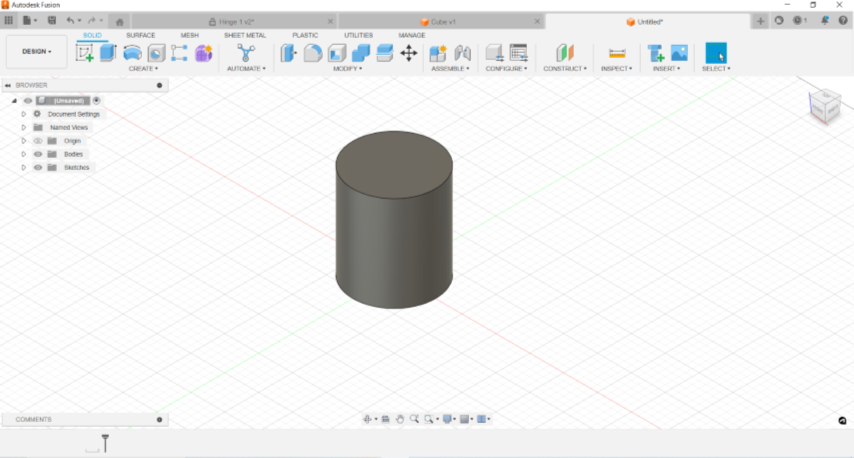
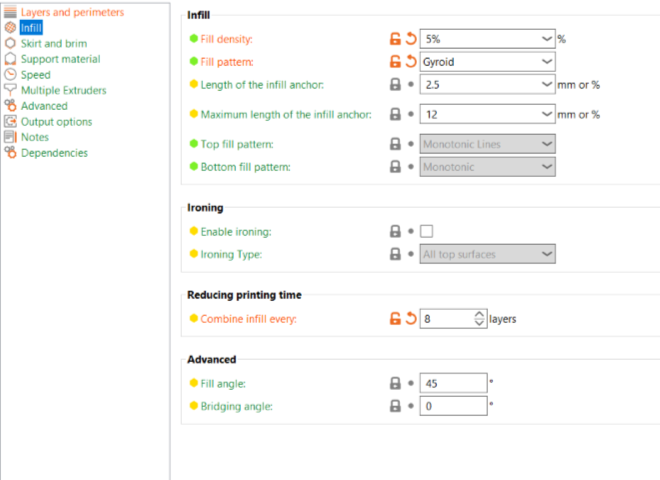
Then I selected the gyroid infill and adjusted the infill density
.png)
.jpeg)
Attempt 3
Printer used: Prusa i3 MK3
Printer used: Prusa i3 MK3
Material used: PLA
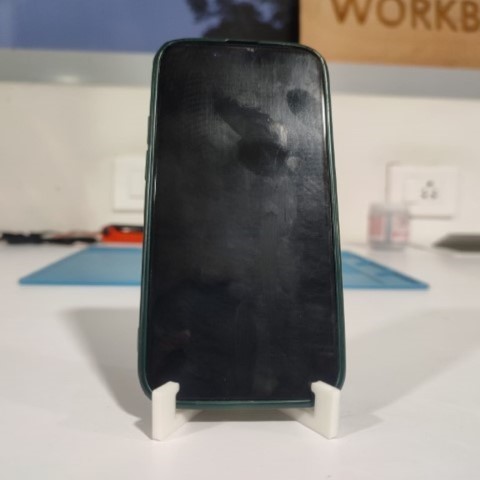
This time I wanted to try making a Print and place model. I made a phone stand with hinge.
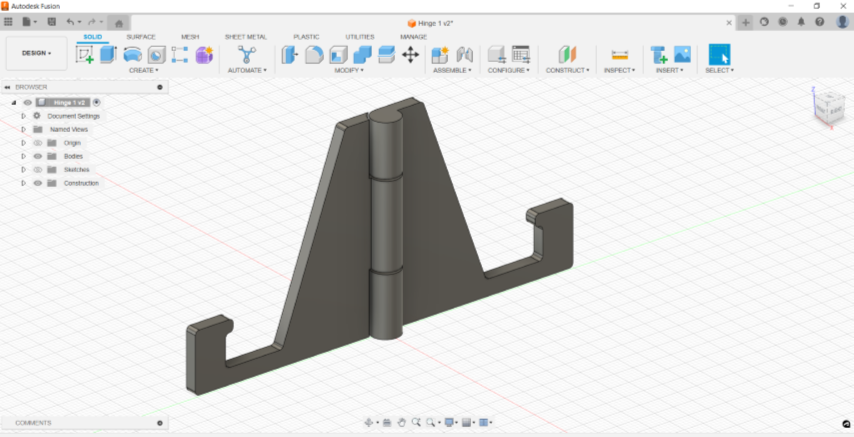
.png)

.jpeg)
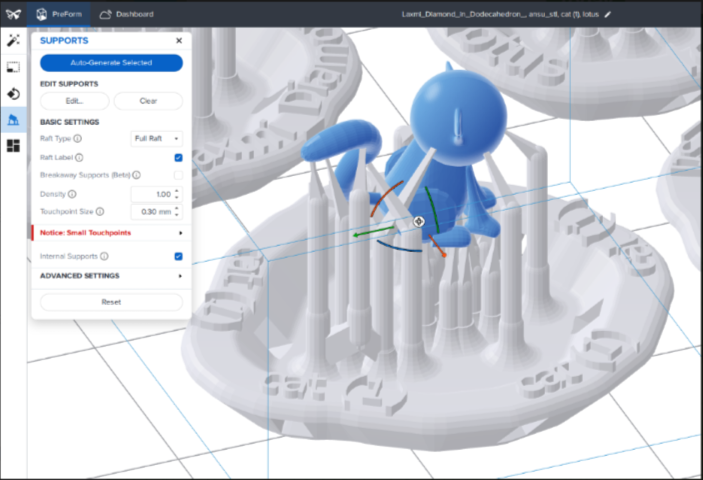
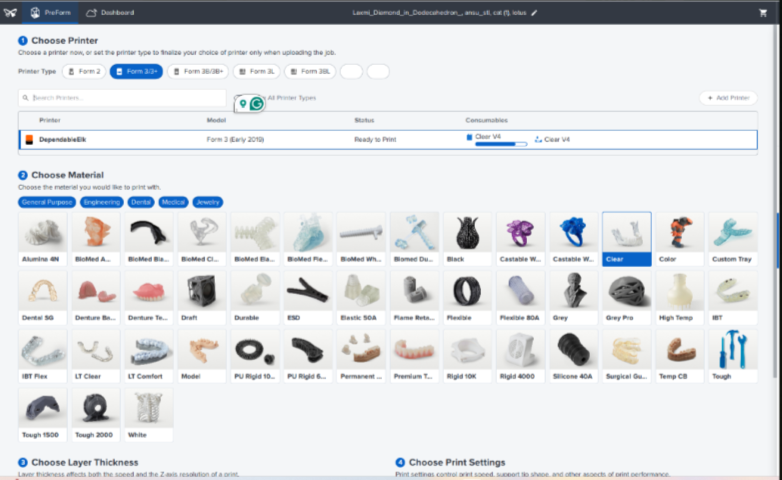
Attempt 4
Printing type: SLA
Printer used: Form Lab
Material: Resin
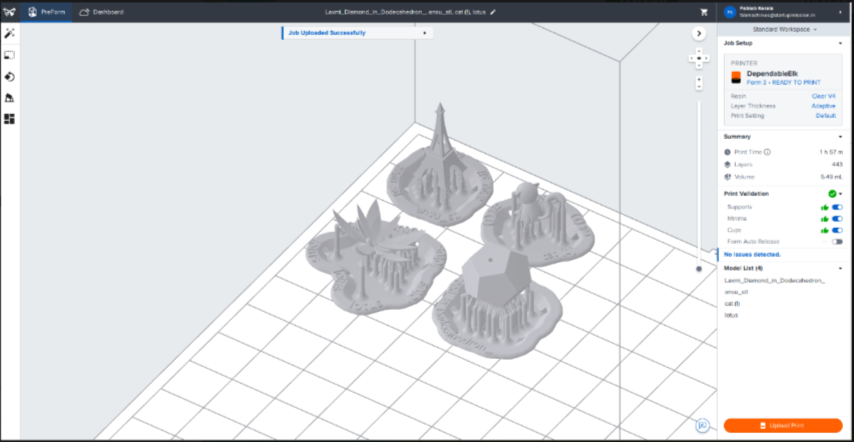
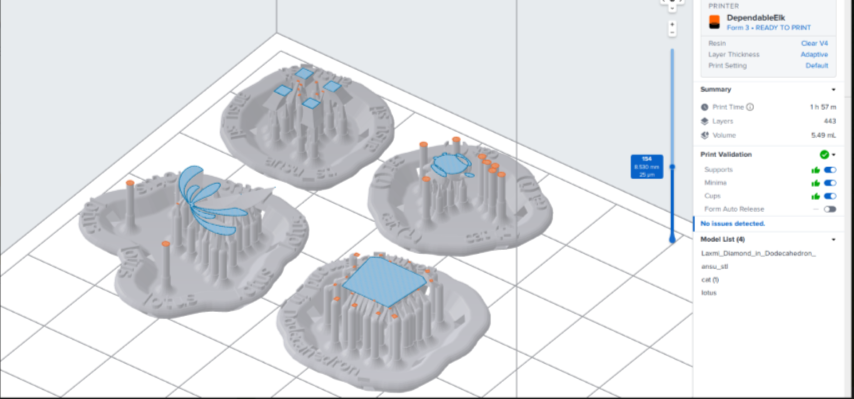
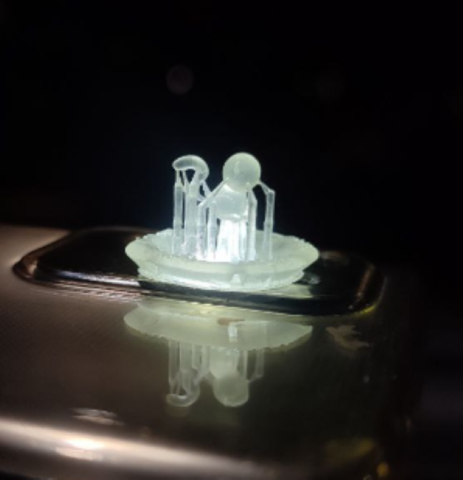
I wanted to try a different modelling software so I created a cat in Blender.
.png)
.png)
Slicing
Post Processing steps in SLA
1. The bed is removed from Forms 3+. It is necessary to wear gloves before handling with the machines as the resin is toxic when it is not cured.
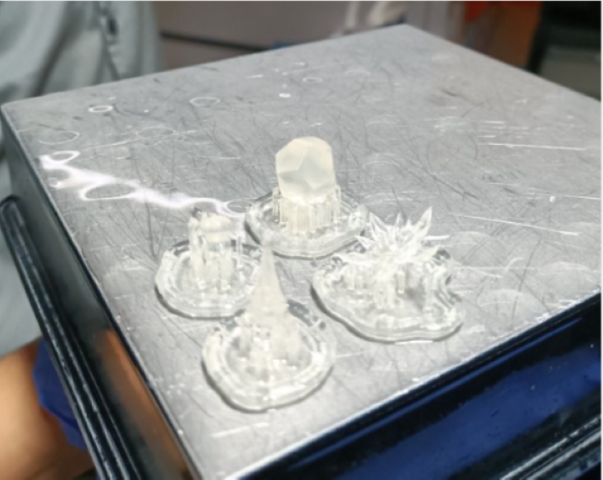
2. We placed the bed on a stand as shown below and with the help of a pry tool we removed the models carefully from the bed.
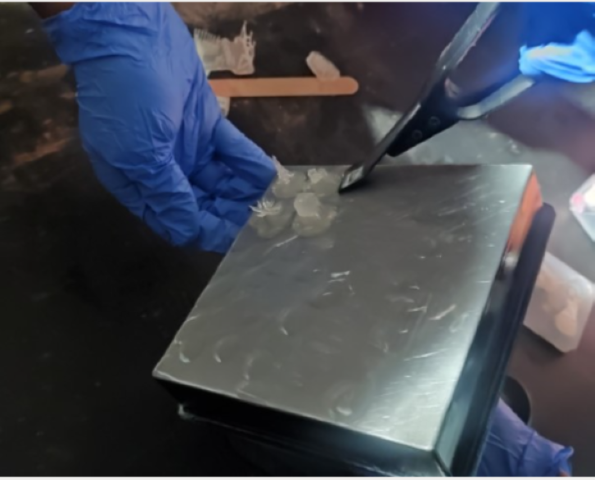
3. Next step was to wash off the excess resin from the models. This process was done in two steps. First, we place the models inside an Isopropyl (IP) bath and dip them repeatedly.
4. Second wash is also done using a machine that has IP Alcohol but here, the washing is done by whirling effect same as in washing machines.
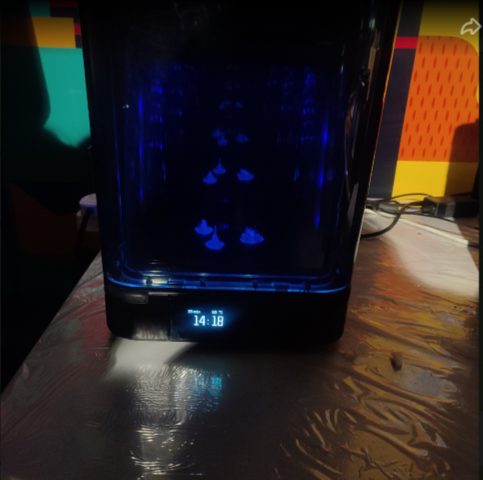
5.After the wash is completed, we placed the models in the curing machine. From the documentation for Forms 3+, we identified the required temperature and time for clear resin.
- Temperature: 60°C
- Time: 15 minutes
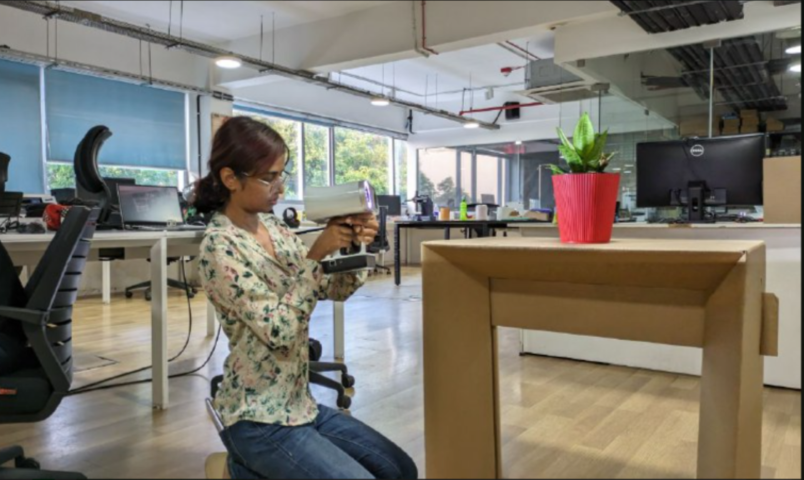
3d scanning
3D Laser Scanning is a non-contact, non-destructive technology that digitally captures the shape of physical objects using a line of laser light. 3D laser scanners create “point clouds” of data from the surface of an object. In other words, 3D laser scanning is a way to capture a physical object’s exact size and shape into the computer world as a digital 3-dimensional representation.
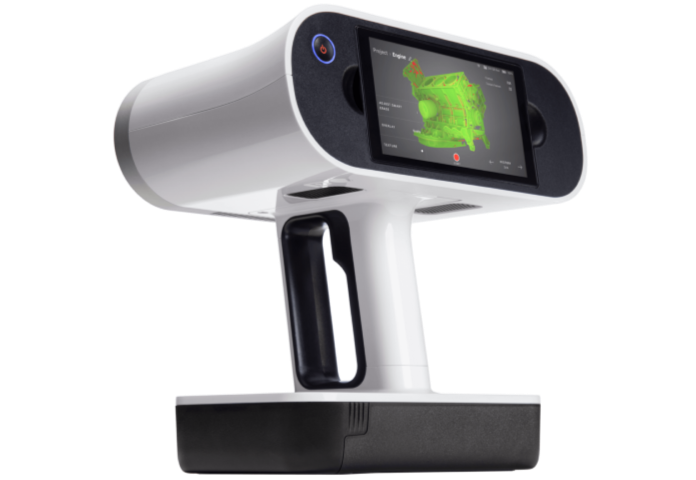
Artec Leo
Artec Leo is a wireless and fully standalone professional 3D scanner designed to make scanning as easy . Ideal for scanning buildings, moderate to large sixed objects
Post Processing
Post processing refers to
the effort of “cleaning” and repairing the scan data
. Often the scan has unwanted content or areas that need more detail. This step also allows us to attach “entities” or reference that will be exported for the next phase of 3D modeling.
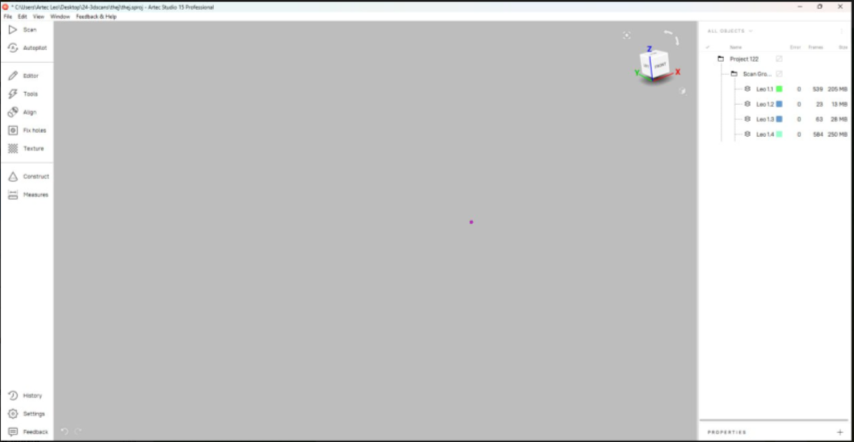
Software: Artec Studio
-
Alignment and Registration:
- Align and register multiple scans if your object requires scanning from different angles. This step ensures that the separate scans are correctly aligned to create a cohesive 3D model.
-
Mesh Processing:
- Clean up and refine the mesh generated from the scans. This may involve removing unwanted artifacts, filling holes, and smoothing surfaces.
-
Texture Mapping:
- If your 3D scanner captures color information, you may need to map textures onto the mesh for a realistic appearance. This involves aligning the captured textures with the 3D geometry.
-
Polygon Reduction:
- Optimize the 3D model by reducing the number of polygons, especially if you need a model with lower file size or better performance in certain applications.
-
Quality Check:
- Inspect the 3D model for any anomalies or errors. Check for accuracy and completeness, and make any necessary adjustments.
-
Exporting Formats:
- Export the 3D model in the desired file format for further use or sharing. Common formats include STL, OBJ, or PLY.
Attempt 1
First I tired scanning an indoor plant.
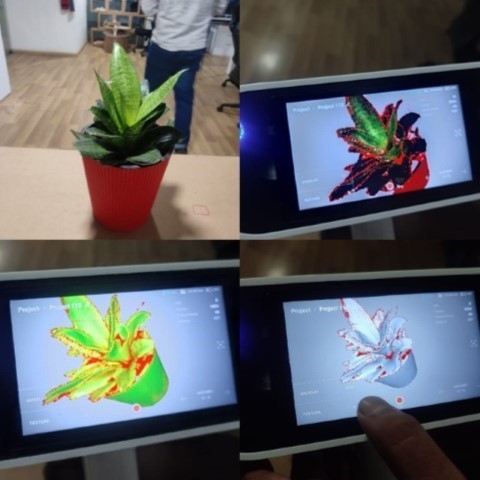
I had some issues in the post processing so I decided to go with a different object. This time I chose my Uke
Attempt 2
I scanned my Uke as it has a much surface and I felt it would be easier to process
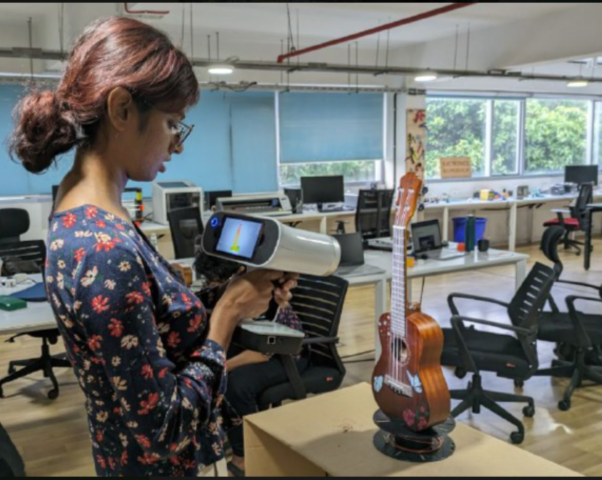
But I had to scan it 2 times though
In the first attempt I took too many pause so the file had more than one scans which made the post processing difficult
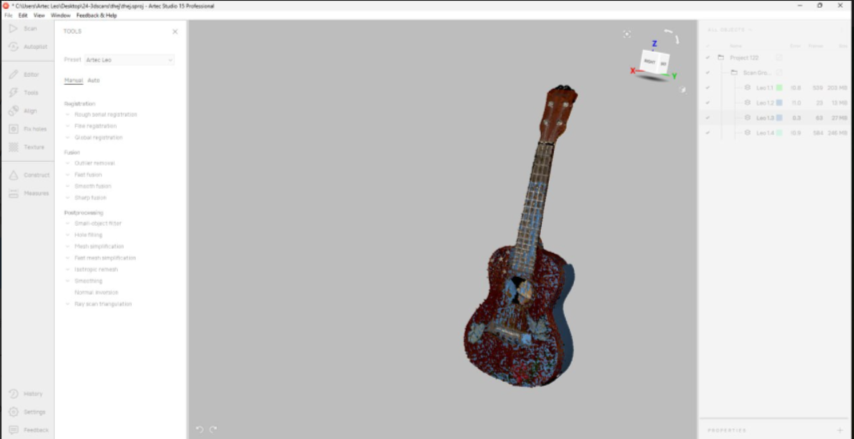
The second time I managed to do it in a single scan so it was easier to process
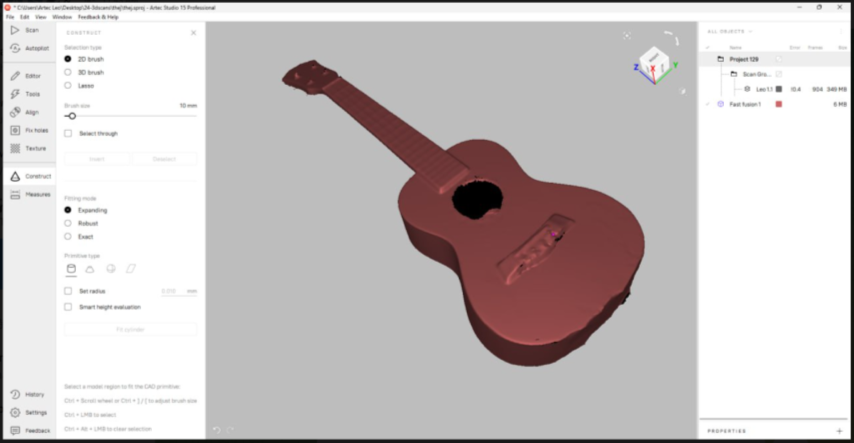
First I used the global registration tool and then Fast fusion. After which I got something like this. Here I was filling the holes by selecting all the holes at once

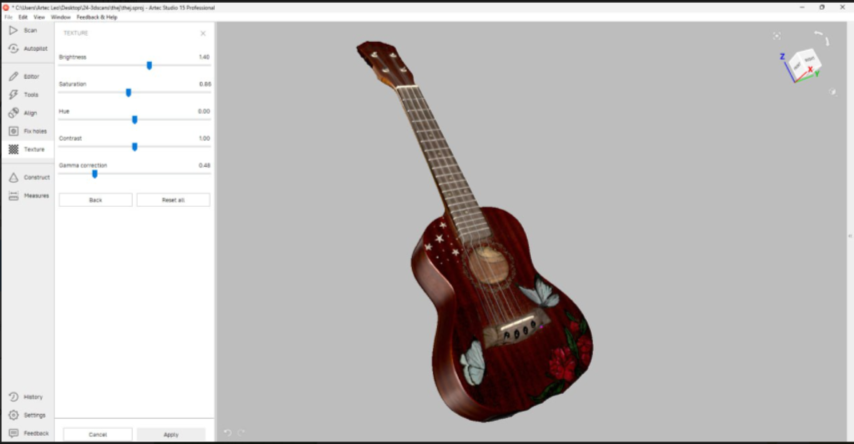
Then I added to texture to get the final result
After that I exported the STL file to slicer
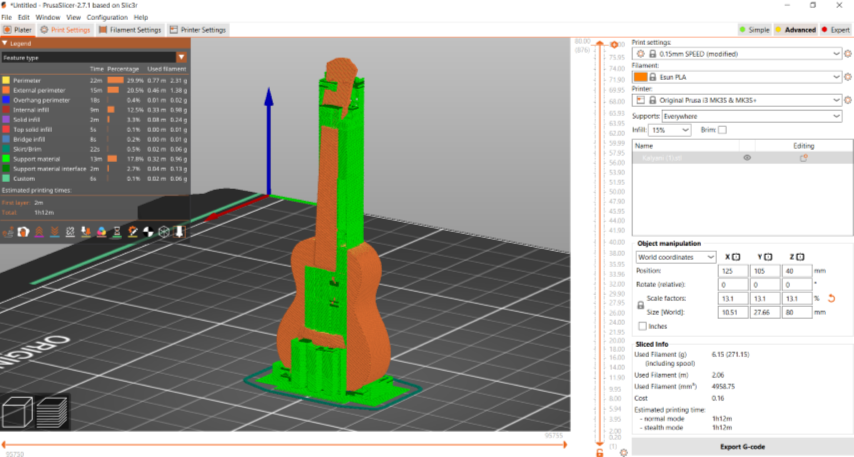
Then I printed it from Prusa
.jpeg)
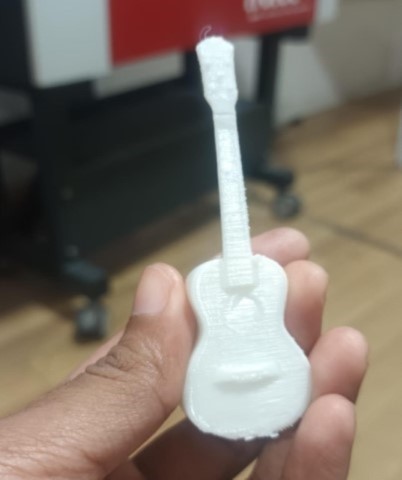
Final Result
Insights
Always try to Maintain the object within the frame while moving
Try to scan as slowly and steadily as possible this will ensure the deatils are properly scanned
If you are scanning an object, try to finish it in a single scan meaning stopping and starting multiples time will make post processing difficult
Files
Design files
Attempt1.Vase
Attempt2.Hinge
Attempt3.Cat
Attempt 1
Attempt 2